Research Tools
When available, reference materials from the original publication can be easily accessed in the Research Tools area outlined in red below. Under Research Tools you may find:
- Title – An image of the publication’s title page.
- Key – An explanation of map symbols and colors.
- Text Index – Like a table of contents, it may be used to look up sheet numbers. The text index may be organized by street, subdivision or block, facility name (under the “Specials” section), or city or township.
- Correction Record – shows dates of applied revisions. Includes date the revisions represent and may also show the date revisions were applied in the form of correction slips to the original map sheet.
- Notes – This may include notes about the city, the publication, or other miscellaneous notes.
- Modern Index Map – One or more Modern Index Map(s) may be available. These maps are a modern street map overlain on the publication’s index map(s). This tool can help you find the map sheets you need, especially if street names or addresses have changed over time.

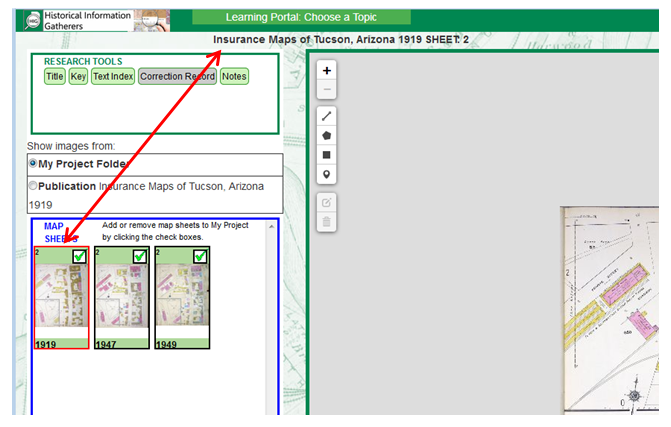
My Project Folder
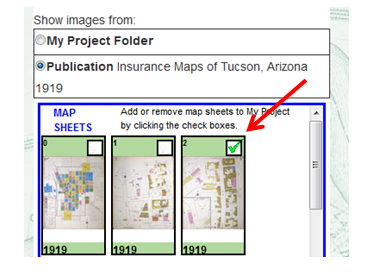
My Project Folder allows a user to view map sheets from different publications in one location. Add images to My Project Folder by checking the thumbnail of the image(s) you want to add. You can return to your search results, select another publication, and add more images to My Project Folder.
To see the all maps you have saved in My Project Folder, switch from Publication view to My Project Folder view. When you click on a map sheet in My Project Folder, the full title of the selected map will display at the top of the screen and any Research Tools for the selected publication will be active.
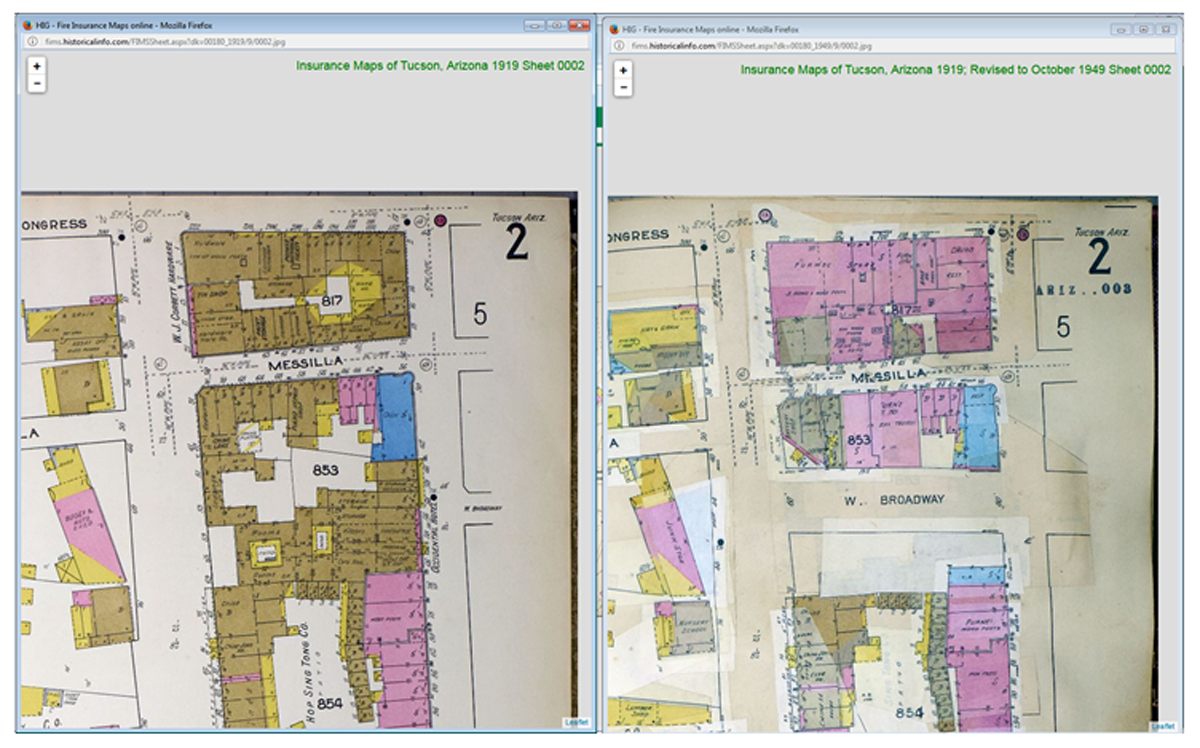
Display Multiple Images Side by Side
Use the Open in New Window button in the upper right side to open multiple images at the same time. Arrange them on your screen to compare them side by side.
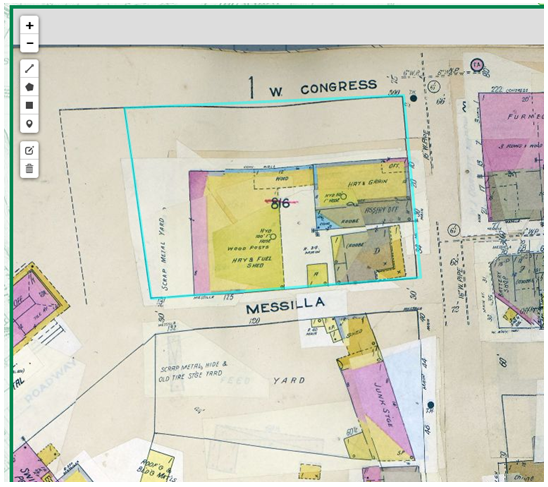
Markup Tools
Map images may be marked up with lines, polygons, rectangles, and point markers. These tools are located on the left side of the main viewing window as shown below. Once drawn, markups may be edited or deleted. Markups will be shown during printing, but are not retained once the research session has ended.
Print/Save the Map
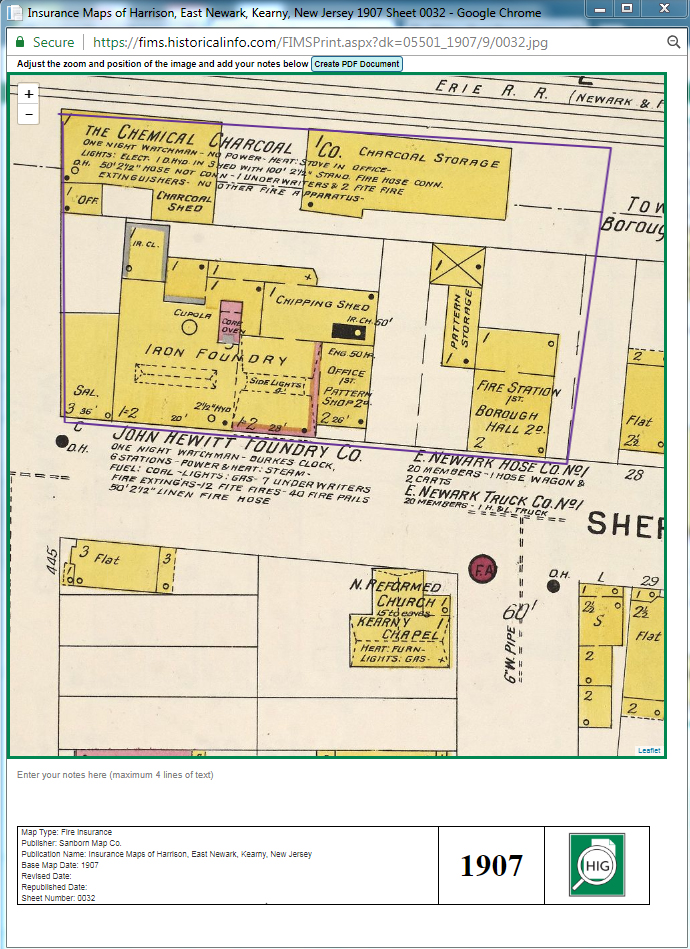
Use the Output Map button on the main viewing page to open the selected map sheet in a new window that shows the map image, a title block at the bottom, any markups you have added to the map and, if desired, a place where you can add you own custom notes. See the example below. Zoom in or out to adjust the map sheet to the desired magnification and position. If you would like to add any notes, click on the space under the map and start typing.
When the image is ready, click the Create PDF Document button at the top of the map window to download the PDF that you can save or print.